Last Updated: December 10, 2025
Tested On: RHEL 9.3, PostgreSQL 16.1
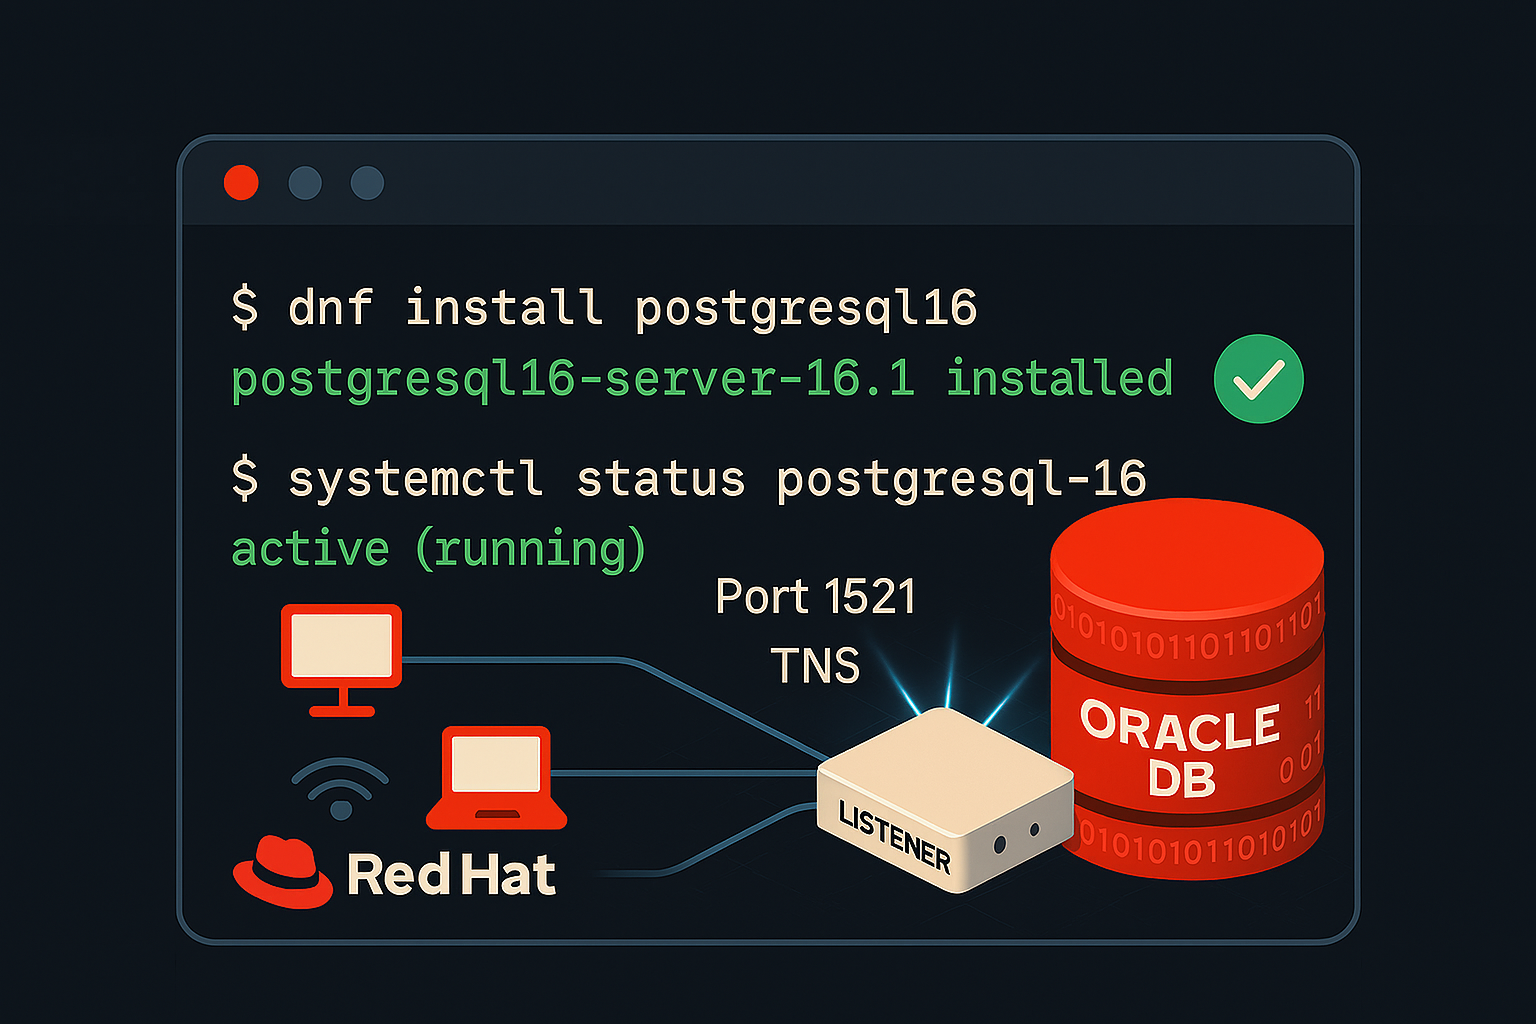
PostgreSQL 16 is the stable release of the powerful open-source relational database system, offering enhanced performance, security, and new features. This comprehensive guide walks you through installing PostgreSQL 16 on RHEL 9 with step-by-step instructions, commands, and best practices.
Why Upgrade to PostgreSQL 16 on RHEL 9?
PostgreSQL 16 offers significant improvements over previous versions, making it an essential upgrade for DBAs running on Red Hat Enterprise Linux 9:
Performance Improvements:
- 2x faster logical replication – Better performance for distributed databases
- Improved query parallelism – Better utilization of multi-core systems
- Enhanced bulk loading – Faster data import operations using COPY command
New Features:
- Better query optimization – More efficient execution plans
- Incremental backup support – pg_basebackup improvements
- Enhanced monitoring – Better visibility into database operations
Security Enhancements:
- Stronger authentication options – SCRAM-SHA-256 improvements
- Better role management – Predefined roles for common tasks
- Enhanced audit logging – More detailed security tracking
If you’re still on PostgreSQL 15 or earlier versions, this guide will help you install PostgreSQL 16 on your RHEL 9 system.
Prerequisites
Before starting the installation:
- RHEL 9.x installed and running
- Root or sudo access to the system
- Internet connectivity for downloading packages
- At least 2GB of free disk space
Step 1: Update the System
Before installing PostgreSQL, update your system packages to ensure you get the latest security updates and dependencies:
yum update -y
Expected output:
Complete!
Step 2: Download and Install the PostgreSQL Repository
PostgreSQL is not included by default in RHEL’s package repositories, so you need to add the official PostgreSQL repository:
rpm -Uvh https://download.postgresql.org/pub/repos/yum/16/redhat/rhel-9-x86_64/pgdg-redhat-repo-latest.noarch.rpm
Expected output:
Retrieving https://download.postgresql.org/pub/repos/yum/16/redhat/rhel-9-x86_64/pgdg-redhat-repo-latest.noarch.rpm
Verifying...                          ################################# [100%]
Preparing...                          ################################# [100%]
Updating / installing...
   1:pgdg-redhat-repo-42.0-38         ################################# [100%]
Step 3: Disable the Default PostgreSQL Module
RHEL includes a built-in version of PostgreSQL, which we need to disable before installing the new version:
dnf -qy module disable postgresql
Why this step is necessary:
- RHEL 9 ships with PostgreSQL 13 by default
- We need to disable it to avoid conflicts
- This ensures PostgreSQL 16 is installed from the PostgreSQL repository
Step 4: Installing PostgreSQL 16
Now, install PostgreSQL 16 along with additional utilities:
yum install -y postgresql16 postgresql16-server postgresql16-contrib
Packages being installed:
postgresql16– PostgreSQL client programs and librariespostgresql16-server– PostgreSQL database serverpostgresql16-contrib– Additional contributed modules
Expected output:
Installed:
  postgresql16-16.1-1PGDG.rhel9.x86_64
  postgresql16-server-16.1-1PGDG.rhel9.x86_64
  postgresql16-contrib-16.1-1PGDG.rhel9.x86_64

Complete!
Step 5: Initialize the PostgreSQL Database Cluster
After installation, you need to initialize the database cluster:
/usr/pgsql-16/bin/postgresql-16-setup initdb
Expected output:
Initializing database ... OK
What happens during initialization:
- Creates the data directory:
/var/lib/pgsql/16/data - Sets up system catalogs
- Creates template databases (template0, template1, postgres)
- Generates initial configuration files (postgresql.conf, pg_hba.conf)
Step 6: Start and Enable PostgreSQL
Enable PostgreSQL to start automatically on system boot and start the service:
systemctl enable --now postgresql-16
systemctl status postgresql-16
Expected output:
Created symlink /etc/systemd/system/multi-user.target.wants/postgresql-16.service

● postgresql-16.service - PostgreSQL 16 database server
     Loaded: loaded (/usr/lib/systemd/system/postgresql-16.service; enabled)
     Active: active (running) since Tue 2025-12-10 10:30:45 UTC; 5s ago
Ensure that PostgreSQL is running correctly by checking its status.
Step 7: Switch to PostgreSQL User
By default, PostgreSQL runs under the postgres user. Switch to it using:
su - postgres
Your prompt should change to:
[postgres@hostname ~]$
Step 8: Create a New User and Grant Superuser Privileges
Create a new user named dataverse and grant it superuser privileges:
⚠️ Security Warning: Superuser privileges allow full control over the database system. Use with caution in production environments.
psql -c "CREATE USER dataverse WITH PASSWORD 'StrongPassword';"
psql -c "ALTER USER dataverse WITH SUPERUSER;"
Expected output:
CREATE ROLE
ALTER ROLE
Best practice recommendations:
- Use strong passwords (minimum 12 characters, mix of letters, numbers, symbols)
- For production, create regular users instead of superusers
- Grant only necessary privileges using GRANT statements
Step 9: Create a New Database
Create a new database named dbadtv owned by the dataverse user:
psql -c "CREATE DATABASE dbadtv OWNER dataverse;"
Expected output:
CREATE DATABASE
Verify database creation:
psql -c "\l" | grep dbadtv
Output:
dbadtv | dataverse | UTF8 | en_US.UTF-8 | en_US.UTF-8 |
Step 10: Create a Schema in the Database
Switch to the new database and create a schema named dtvs:
psql -d dbadtv -c "CREATE SCHEMA dtvs AUTHORIZATION dataverse;"
Expected output:
CREATE SCHEMA
Verify schema creation:
psql -d dbadtv -c "\dn"
Output:
  List of schemas
  Name  |  Owner
--------+-----------
 dtvs   | dataverse
 public | postgres
Step 11: Configure Authentication (pg_hba.conf)
By default, PostgreSQL uses peer authentication. To allow password-based login, update pg_hba.conf:
vi /var/lib/pgsql/16/data/pg_hba.conf
Find these lines at the bottom:
# IPv4 local connections:
host    all             all             127.0.0.1/32            ident
# IPv6 local connections:
host    all             all             ::1/128                 ident
Replace with:
# IPv4 local connections:
host    all             all             127.0.0.1/32            md5
# IPv6 local connections:
host    all             all             ::1/128                 md5

# Allow remote connections (if needed)
host    all             all             0.0.0.0/0               md5
host    all             all             ::/0                    md5
Authentication methods explained:
md5– MD5-encrypted password authenticationscram-sha-256– More secure, recommended for PostgreSQL 16ident– Uses system username (local only)peer– Uses OS username (Unix socket only)
For production, use SCRAM-SHA-256:
host all all 0.0.0.0/0 scram-sha-256
Save and exit the file (:wq in vi).
Step 12: Restart PostgreSQL for Changes to Take Effect
Exit from postgres user and restart PostgreSQL to apply the authentication changes:
exit  # Exit from postgres user
systemctl restart postgresql-16
Verify restart:
systemctl status postgresql-16
Step 13: Verify the Installation
To ensure PostgreSQL 16 is running properly, connect to the database:
psql -U dataverse -d dbadtv -W
You should see:
Password for user dataverse: [enter password]

psql (16.1)
Type "help" for help.

dbadtv=>
Run test query:
SELECT version();
Expected output:
                                                version
--------------------------------------------------------------------------------------------------------
 PostgreSQL 16.1 on x86_64-pc-linux-gnu, compiled by gcc (GCC) 11.3.1 20221121 (Red Hat 11.3.1-4), 64-bit
Check database size:
SELECT pg_size_pretty(pg_database_size('dbadtv'));
Output:
 pg_size_pretty
----------------
 8249 kB
Installing pgAgent with PostgreSQL 16 on RHEL 9
pgAgent is a job scheduling agent for PostgreSQL, allowing you to automate database maintenance tasks, run batch scripts, and schedule queries.
Step 1: Install pgAgent Package
dnf install -y pgagent_16
Expected output:
Installed:
  pgagent_16-4.2.2-1.rhel9.x86_64

Complete!
Step 2: Create pgAgent Extension in Your Database
Connect to your database as the postgres user:
su - postgres
psql -d dbadtv
Create the pgAgent extension:
CREATE EXTENSION pgagent;
Expected output:
CREATE EXTENSION
Verify pgAgent installation:
SELECT * FROM pgagent.pga_version;
Output:
 version
---------
 4.2.2
Exit psql:
\q
Step 3: Configure pgAgent Connection
Create pgAgent configuration file:
vi /etc/pgagent_16.conf
Add these lines:
# pgAgent Configuration
DBNAME=dbadtv
DBUSER=dataverse
DBHOST=localhost
DBPORT=5432
Step 4: Start and Enable pgAgent Service
exit  # Exit from postgres user
systemctl enable --now pgagent_16
systemctl status pgagent_16
Expected output:
● pgagent_16.service - PgAgent for PostgreSQL 16
     Loaded: loaded (/usr/lib/systemd/system/pgagent_16.service; enabled)
     Active: active (running)
Step 5: Test pgAgent
Connect to database and check job tables:
psql -U dataverse -d dbadtv -W
-- List pgAgent schemas
\dn pgagent

-- Check if pgAgent is running
SELECT * FROM pgagent.pga_joblog ORDER BY jlgstart DESC LIMIT 5;
Why Use pgAgent?
Common use cases:
- Automated backups – Schedule nightly database backups
- Maintenance tasks – Run VACUUM, ANALYZE on schedule
- Data archival – Move old data to archive tables
- Report generation – Generate and email reports automatically
- Data synchronization – Sync data between databases
Example: Create a Simple Maintenance Job
-- Create a maintenance job
INSERT INTO pgagent.pga_job (
    jobjclid, jobname, jobdesc, jobenabled
) VALUES (
    1, 'Daily Maintenance', 'Run VACUUM and ANALYZE', true
);

-- Add a job step
INSERT INTO pgagent.pga_jobstep (
    jstjobid, jstname, jstkind, jstcode, jstdbname
) VALUES (
    (SELECT jobid FROM pgagent.pga_job WHERE jobname='Daily Maintenance'),
    'Vacuum Step', 's', 'VACUUM ANALYZE;', 'dbadtv'
);
Troubleshooting Common Installation Errors
Error 1: “No package postgresql16 available”
Symptom:
No match for argument: postgresql16
Error: Unable to find a match: postgresql16
Cause: PostgreSQL repository not added or disabled PostgreSQL module not properly configured.
Solution:
# Verify repository is installed
rpm -qa | grep pgdg-redhat-repo

# If not found, reinstall repository
rpm -Uvh https://download.postgresql.org/pub/repos/yum/16/redhat/rhel-9-x86_64/pgdg-redhat-repo-latest.noarch.rpm

# Disable PostgreSQL module
dnf -qy module disable postgresql

# Clear DNF cache
dnf clean all

# Try installation again
yum install -y postgresql16 postgresql16-server
Error 2: “postgresql-16.service failed to start”
Symptom:
Job for postgresql-16.service failed because the control process exited with error code.
Cause: Data directory not initialized, permission issues, or port conflict.
Solution 1 – Check initialization:
ls -la /var/lib/pgsql/16/data

# If directory is empty or doesn't exist, initialize:
/usr/pgsql-16/bin/postgresql-16-setup initdb
Solution 2 – Check permissions:
# Fix ownership
chown -R postgres:postgres /var/lib/pgsql/16/data

# Fix permissions
chmod 700 /var/lib/pgsql/16/data
Solution 3 – Check for port conflicts:
# See if port 5432 is already in use
netstat -tlnp | grep 5432

# If another PostgreSQL is running, stop it:
systemctl stop postgresql  # older version
Check PostgreSQL logs:
tail -f /var/lib/pgsql/16/data/log/postgresql-*.log
Error 3: “FATAL: Peer authentication failed for user”
Symptom:
psql: error: connection to server on socket "/var/run/postgresql/.s.PGSQL.5432" failed:
FATAL:  Peer authentication failed for user "dataverse"
Cause: pg_hba.conf still using peer authentication instead of md5/scram-sha-256.
Solution:
# Edit pg_hba.conf as postgres user
su - postgres
vi /var/lib/pgsql/16/data/pg_hba.conf

# Change this line:
host    all             all             127.0.0.1/32            peer

# To this:
host    all             all             127.0.0.1/32            md5

# Save and restart
exit
systemctl restart postgresql-16
Error 4: “could not connect to server: Connection refused”
Symptom:
psql: error: connection to server at "localhost" (127.0.0.1), port 5432 failed:
Connection refused. Is the server running on that host and accepting TCP/IP connections?
Cause: PostgreSQL not listening on TCP/IP or firewall blocking connection.
Solution 1 – Enable TCP/IP listening:
su - postgres
vi /var/lib/pgsql/16/data/postgresql.conf

# Find and uncomment:
listen_addresses = 'localhost'

# Or for all interfaces:
listen_addresses = '*'

# Save and restart
exit
systemctl restart postgresql-16
Solution 2 – Configure firewall:
# Allow PostgreSQL through firewall
firewall-cmd --permanent --add-service=postgresql
firewall-cmd --reload

# Verify
firewall-cmd --list-services
Error 5: “dnf install pgagent fails”
Symptom:
No match for argument: pgagent_16
Error: Unable to find a match: pgagent_16
Cause: pgAgent package name varies by distribution.
Solution:
# Search for available pgAgent packages
dnf search pgagent

# Install with correct package name
dnf install -y pgagent_16

# If still not found, enable EPEL repository
dnf install -y epel-release
dnf install -y pgagent_16
Error 6: “Permission denied” when accessing data directory
Symptom:
LOG: could not open file "/var/lib/pgsql/16/data/pg_hba.conf": Permission denied
Cause: Incorrect ownership or SELinux context.
Solution:
# Fix ownership
chown -R postgres:postgres /var/lib/pgsql/16

# Restore SELinux context
restorecon -R /var/lib/pgsql/16

# Verify
ls -laZ /var/lib/pgsql/16/data
Conclusion
This comprehensive guide covered the complete installation of PostgreSQL 16 on RHEL 9 / Red Hat Enterprise Linux, including:
✅ Repository setup and PostgreSQL 16 installation
✅ Database cluster initialization and service configuration
✅ User and database creation with proper permissions
✅ Authentication configuration for secure access
✅ pgAgent installation for job scheduling
✅ Troubleshooting common installation errors
PostgreSQL 16 offers significant performance improvements, enhanced security features, and better scalability. With proper configuration, it serves as a powerful database backend for enterprise applications.
Next Steps
Security Hardening:
- Configure SSL/TLS for encrypted connections
- Implement role-based access control (RBAC)
- Set up regular security audits
- Restrict remote access to trusted IPs only
Performance Tuning:
- Adjust
shared_buffersbased on available RAM - Configure
work_memfor complex queries - Tune
effective_cache_sizefor better query planning - Enable query performance monitoring
Backup and Recovery:
- Set up automated pg_basebackup
- Configure point-in-time recovery (PITR)
- Test restore procedures regularly
- Implement backup verification
Monitoring:
- Install pg_stat_statements for query analysis
- Set up log rotation and analysis
- Monitor connection pools and active queries
- Configure alerts for critical events
Related Guides:
- How to Set Up PostgreSQL Read-Only User Permissions
- PostgreSQL Configuration Parameters Best Practices
- PostgreSQL Replication Setup on RHEL 9
📢 Need help with PostgreSQL installation or configuration? Drop your questions in the comments below! 🚀
1 thought on “Install PostgreSQL 16 on RHEL 9 [Tested dnf Steps]”